Samsung Galaxy
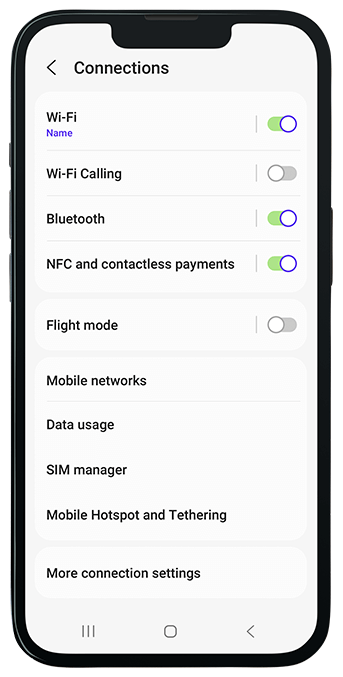
Open Settings and tap 'Connections'.
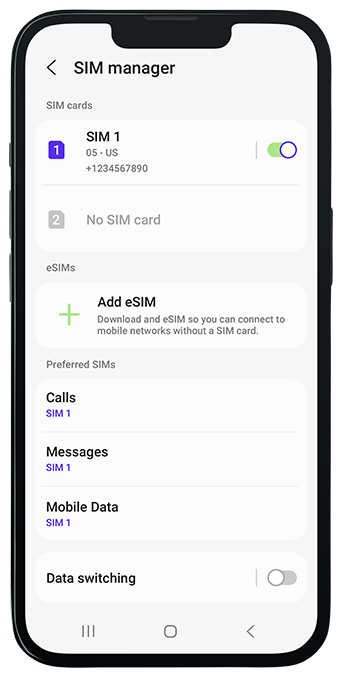
Select 'SIM manager' (or 'SIM card manager').
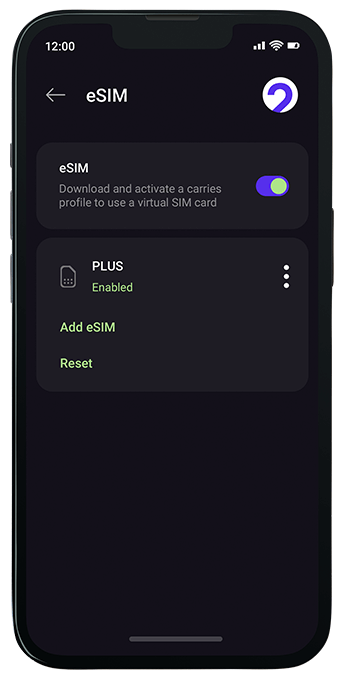
Tap 'Add mobile plan' (or Add eSIM) in the eSIMs section.
Select 'Scan carrier QR code'.
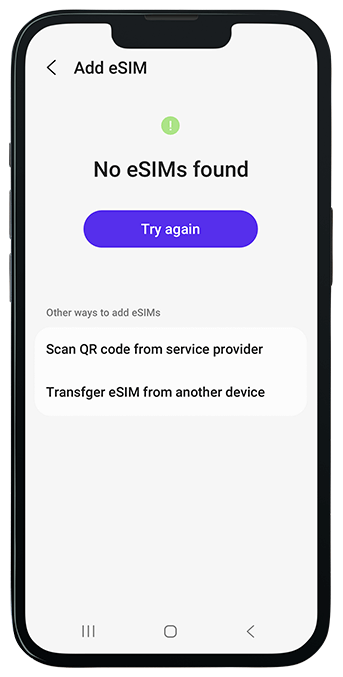
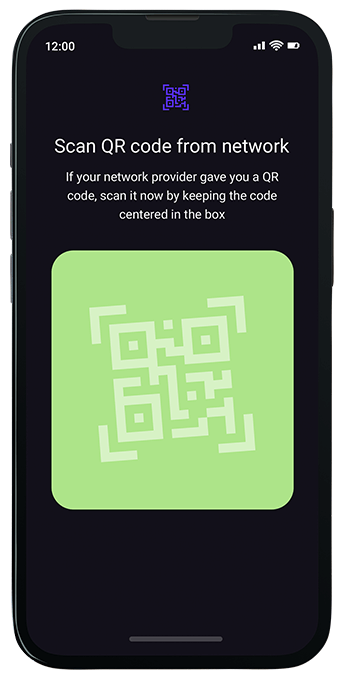
Scan the QR code from another device's screen or print the QR code. You can find it in your account or in your email.
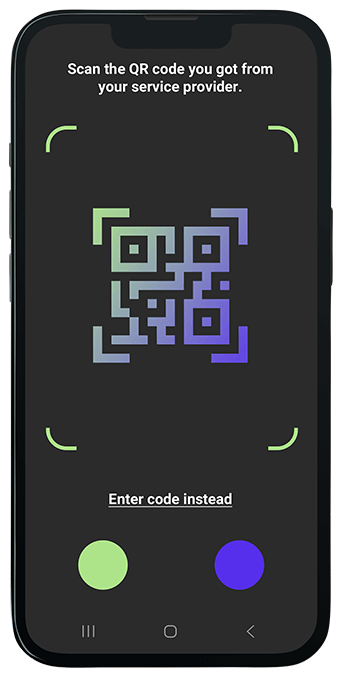
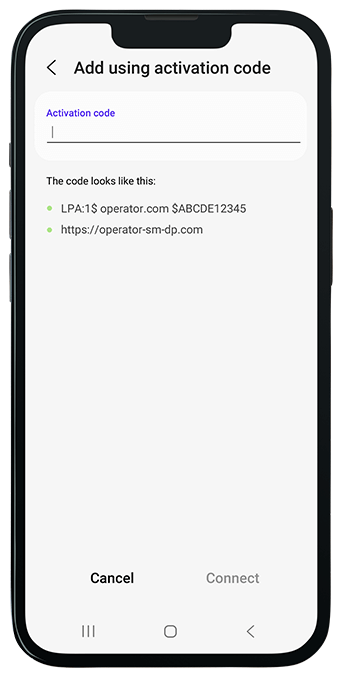
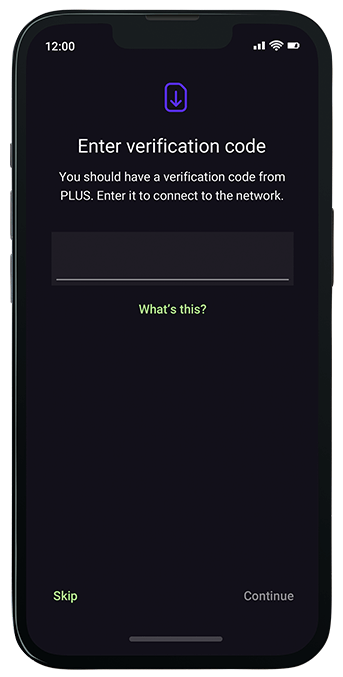
If you're unable to use the scanner on your Samsung Galaxy, select 'Enter code instead' and input the activation code from your eSIM plan. You can find it in the TooSIM app under the Active section.
Select 'Add and use it now'.

Return to the previous settings, select the newly added eSIM and set it to 'On'.
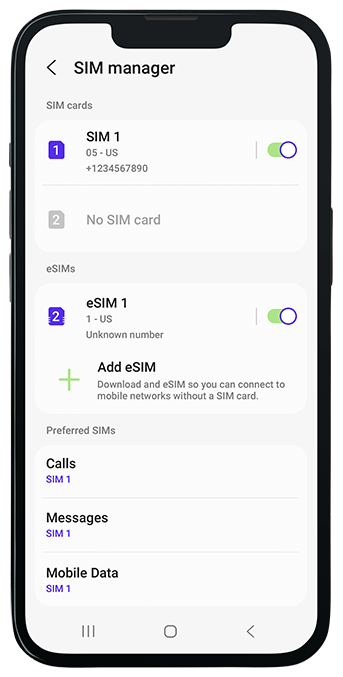
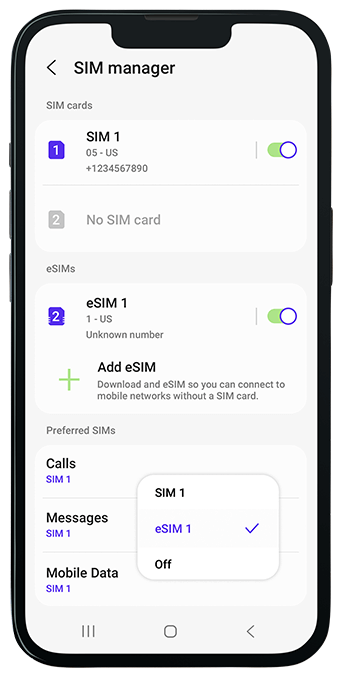
In 'Preferred SIMs' settings, tap on 'Mobile Data' ans set newly added eSIM.
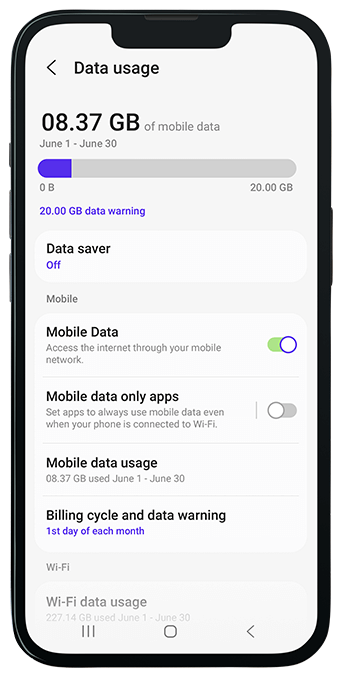
Return to your phone's settings and tap 'Connections'.
Tap 'Data Usage'.
And activate 'Mobile Data'.
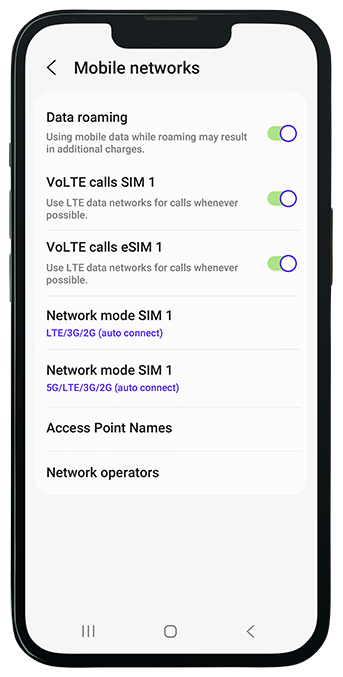
Return to the previous settings and select 'Mobile Networks'.
Tap on 'Data Roaming'.
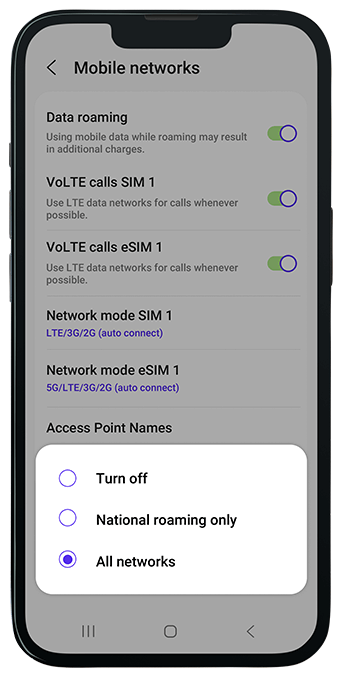
And select 'All Networks'.
Pixel
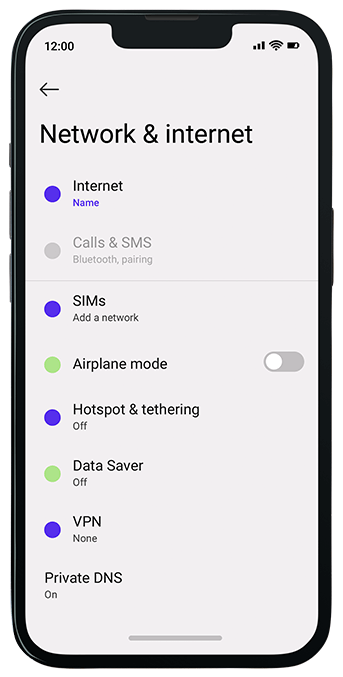
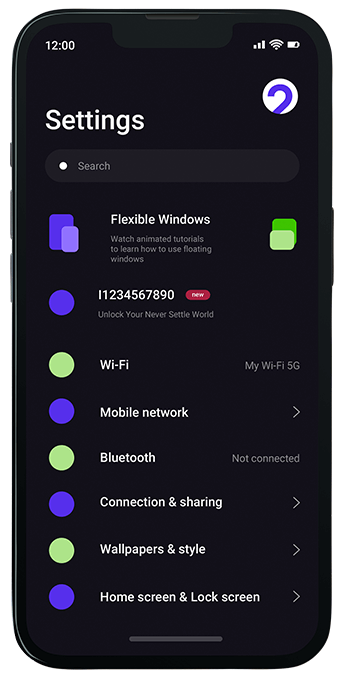
Open Settings and tap 'Network & internet'.
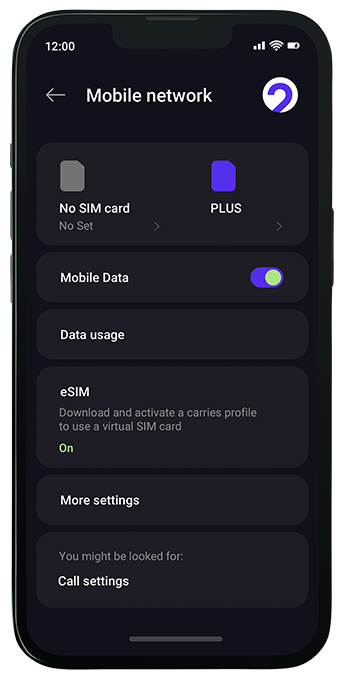
Select 'SIMs'.
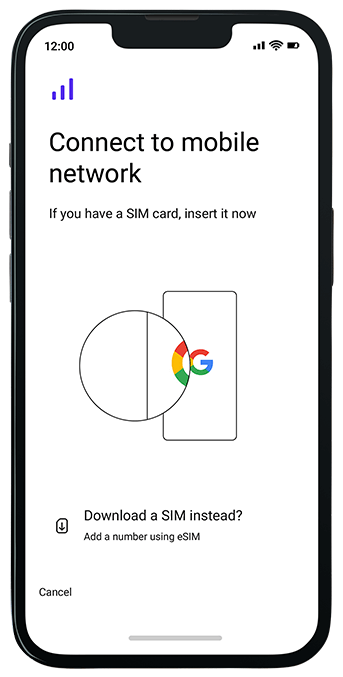
And tap 'Download a SIM instead'.
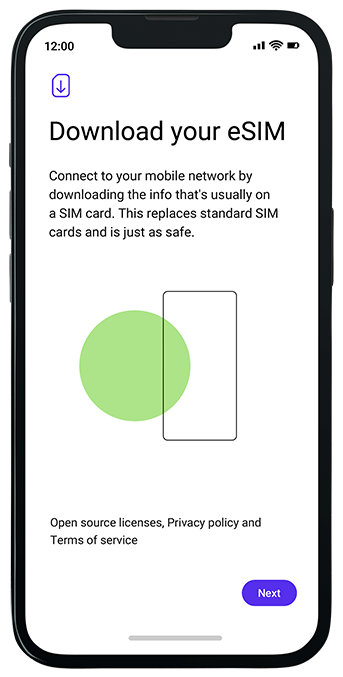
Select 'Next'.
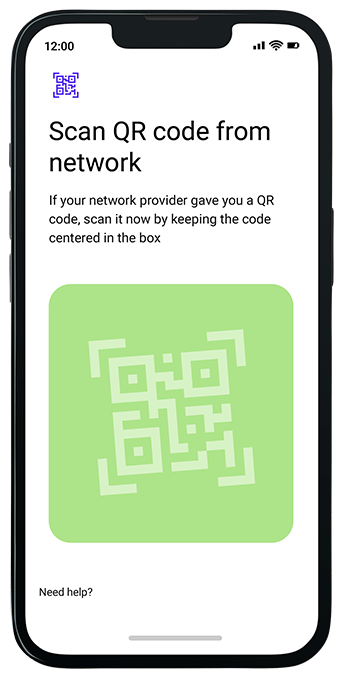
Scan the QR code from another device's screen or print the QR code. You can find it in your account or in your email.
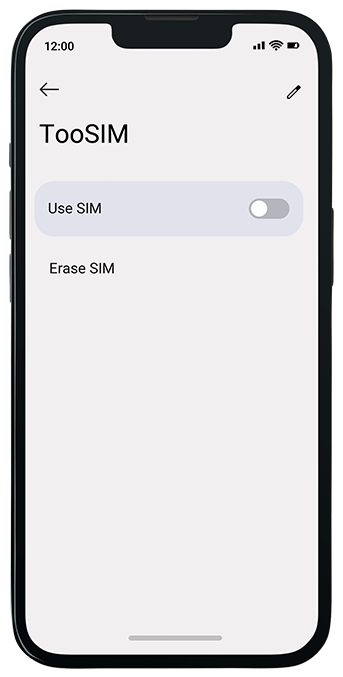
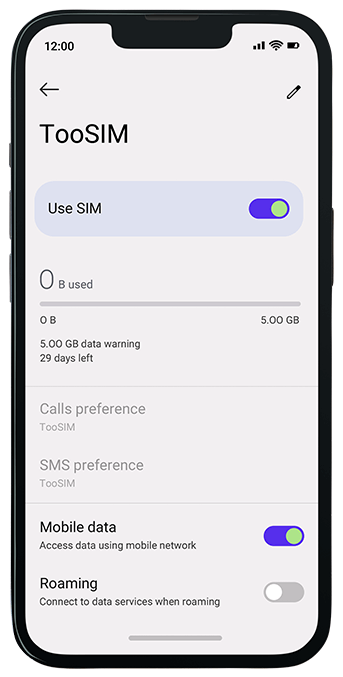
Upon arrival at your destination, activate 'Use SIM'.
To ensure proper eSIM functionality, enable 'Mobile Data' and 'Roaming'.
OnePlus
Open Settings and tap 'Mobile Network'.
Select 'eSIM'.
Tap 'Add eSIM'.
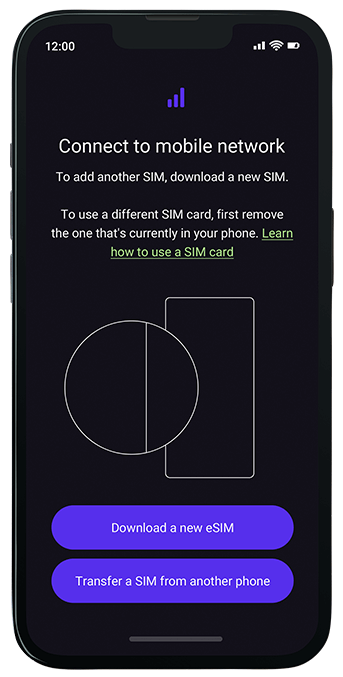
Select the 'Download a new eSIM' button.
After scanning the QR code, you'll need to input the activation code for your plan. You can find it in the TooSIM app under the Active section.
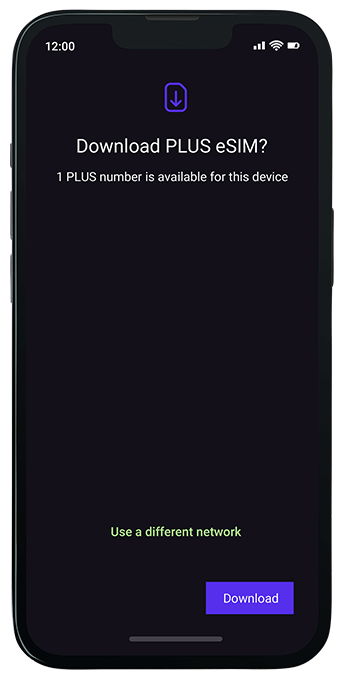
On the 'Download PLUS eSIM' screen, select 'Download'.
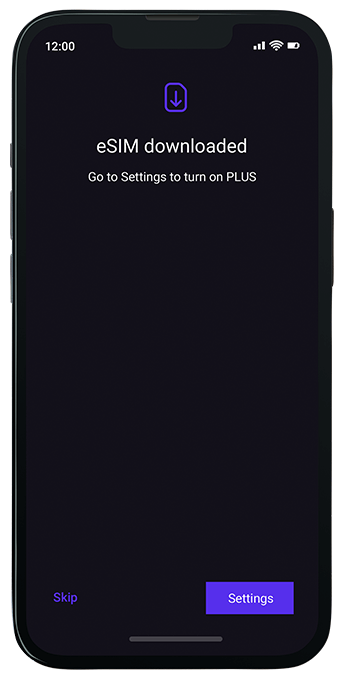
When the download is finished, tap the 'Settings' button.
When the download is finished, tap the 'Settings' button.
On the eSIM settings, select the added eSIM and press 'Enable'. That's it, setup and activation are complete.
